A Guide to Building a Floating Frame for a Painting
Art has always held a special place in our hearts, and when it came to showcasing George’s beautiful paintings, we wanted to go the extra mile. Inspired by his talent and eager to enhance his artwork, I took on the task of building a floating frame that would complement each of his masterpieces.
Together, we embarked on a journey, combining his artistic vision with my passion for craftsmanship. The result embodied our shared love for surrounding ourselves with statement pieces that transform our house into a home.
How We Did It
Materials Needed:
- Wood boards (choose a type that complements your artwork)
- Saw (miter or table saw)
- Sandpaper (various grits)
- Wood glue
- Clamps
- Nails or screws
- Picture hanging hardware
- Measuring tape
- Pencil
- Stain or paint (optional)
Step 1: Measure and Cut
First, I measured the height and width of the paintings with a measuring tape, leaving a little extra space to create a border. I left about a 1/4″ inch space all the way around, but the amount of space is up to you. I then measured the depth to know exactly how wide the wood boards needed to be to cover the depth of the canvas. Taking care to line up the marks, I used a miter saw at 45º to cut the wood boards into four pieces that would frame the artwork.


Step 2: Assemble the Frame
Then, I assembled the frames with wood glue. Being really careful with the mitered ends so that they join just right! I used the clamps to hold everything in place, allowing the frames to solidify. (For a detailed video on how to build a floating frame check out this video by Jon Peters – Longview Woodworking.)


Step 3: Finishing Touches
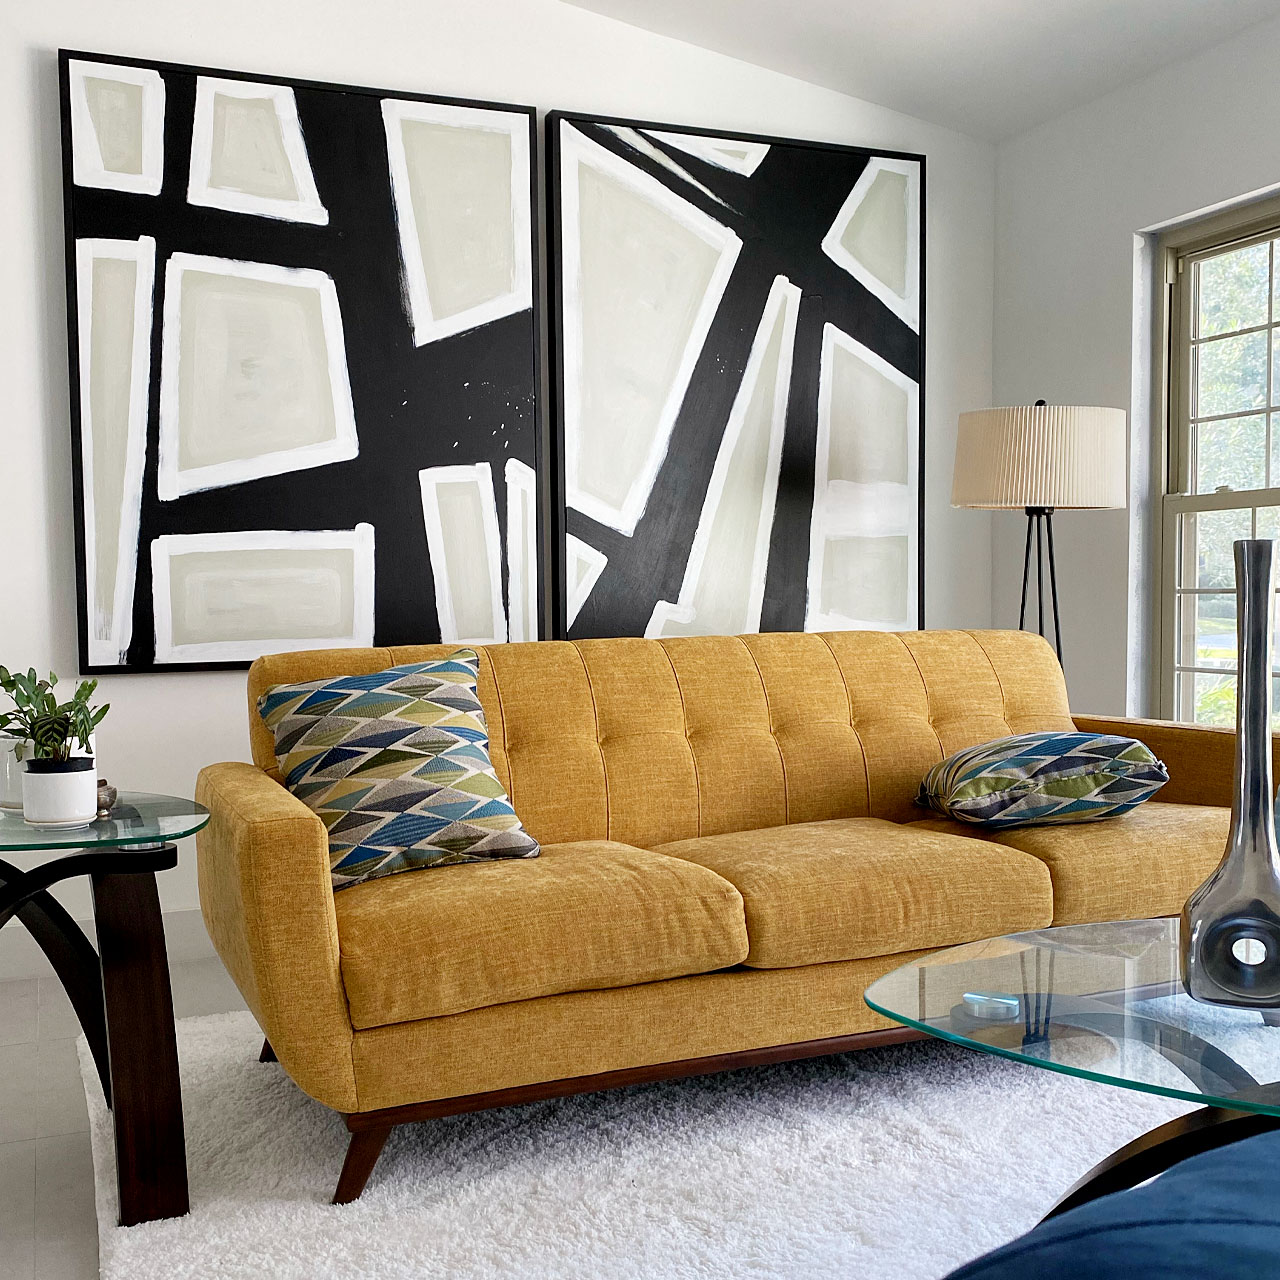
After the frames had dried, they didn’t feel quite finished, so we thought about how to give them a personal touch. That’s when we decided together that a black frame would be the best way to go to complement the paintings. Once they were painted black, the frames really came alive!


Step 4: Mounting the Painting
I then placed the frames and paintings on a clean, flat surface. With care, I positioned the paintings inside the frames, and used 1/4″ spacers (or wood craft sticks, LOL) to ensure the border I’d measured out. I used nails and screws to secure the painting to the frame. When they were finished, we felt so much joy!


Step 5: Hanging the Floating Frame
With the final touches complete, it was time to hang the floating frames in our living room. Our preferred hanging hardware is a French cleat system available on Amazon here. It’s easy to attach and to level.
As we stepped back together, marveling at the finished result, our hearts swelled with pride. These frames, crafted with love and dedication, not only elevated George’s artistry but also stood as a symbol of our unwavering support for each other.
Building a floating frame for these paintings not only added a touch of elegance but also elevated the overall visual impact of the artwork. With a few basic materials and a little craftsmanship, we were able to create a custom frame that beautifully complements the paintings. We are so happy with the results! It truly made our living space much more elegant and sophisticated.